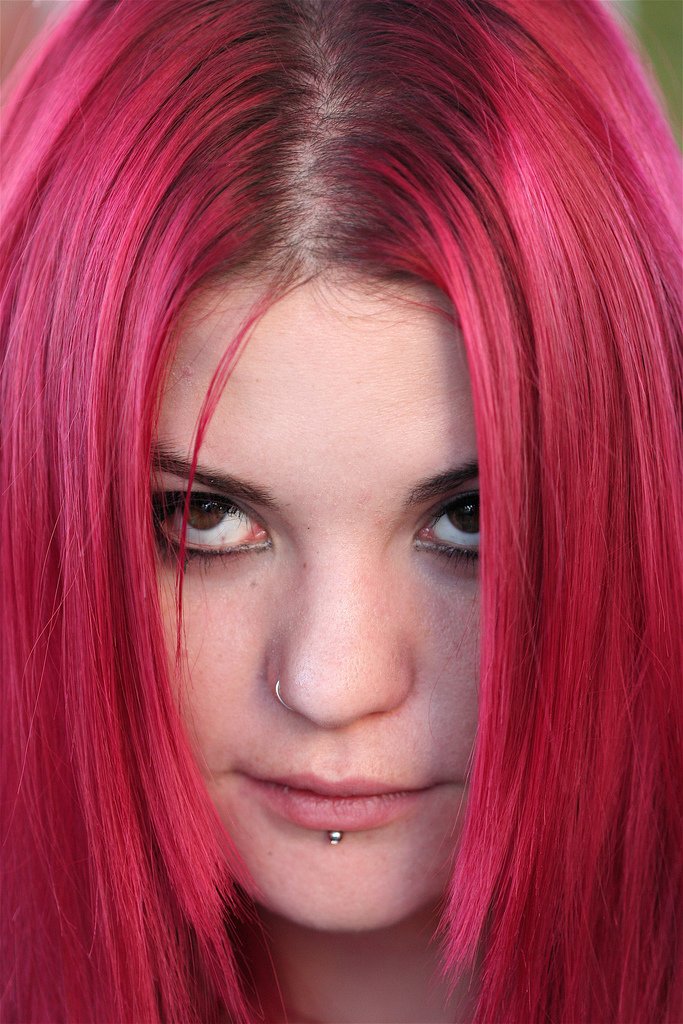
| GIMP Tutorial #1 - High Key Portraits In this lesson, we'll use GIMP tools to convert this colorful portrait into a high key photograph. [Flickr "high key" photos] Use the link provided to download the full-size version of the file, called largepinkgirl.jpg.
Adjust the image to make it brighter using the curves feature. Right click >> Tools >> Color tools >> Curves  Turn on the layers dialog box and click on the duplicate button to make a copy of the background layer. or... Right click >> Layer >> Duplicate layer  Make sure the "Background copy" layer is selected and use the threshold tool to isolate the high contrast areas of the photo. Right click >> Tools >> Color tools >> Threshold  With the background copy still selected, use the Gaussian Blur filter to blur the layer. Right click >> Filters >> Blur >> Gaussian blur  Open the layer dialog box <ctl-l>, and change the layers mode from "Normal" to "Screen." Then use the "Opacity" slider bar to adjust the transparency of the top layer.  Select the background layer in and desaturate it. Right click >> Tools >> Color tools >> Hue-Saturation. If you like, before desaturating the image, use the lasso tool to select the iris, and then invert the selection. Right click >> Select invert, and then desaturate. Everything will be desaturated EXCEPT the iris.  |


Last modified: Thursday, 24 July 2014, 2:54 PM