Make a postcard
GIMP Tutorial #2 - Make a postcard
|
In this tutorial we'll use some simple tools to create a border and add a drop shadow. First download the original photo. postcard.jpg 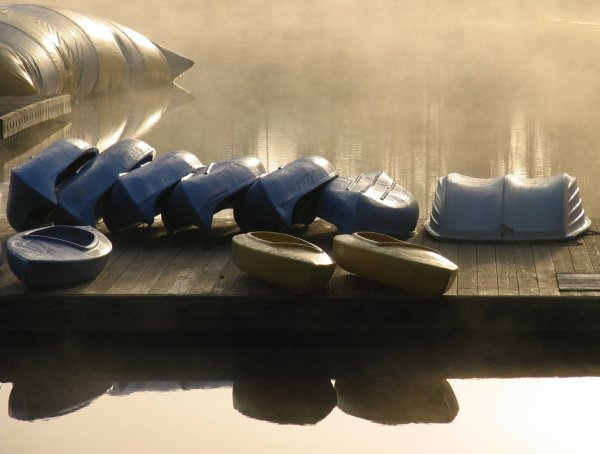 Add a border that is 20 pixels wide. Right click >> Script-fu* >> Decor >> Border. Set border color to white. (*newest versions of Gimp can skip script-fu) 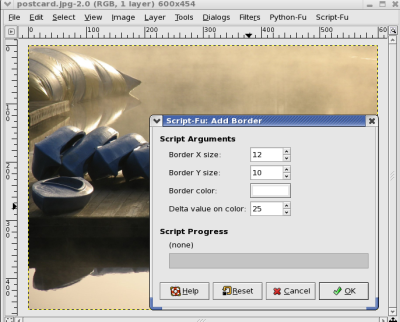 After you have a border, Right click >> Filters >> Light and shadow >> Drop shadow. It's safe to use the default settings but you should experiment to see how they work. After you have a drop shadow you like, we'll rotate the image. Before you can do that, you'll have to open your layers dialog box, <ctl-l> and merge all visible layers. Just right click on the top layer and select "Merge Visible Layers." 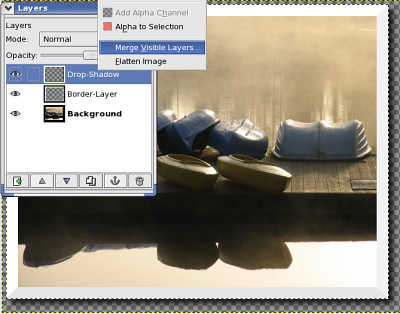 After you merge the layers, then you can use the rotate tool to rotate the entire image. 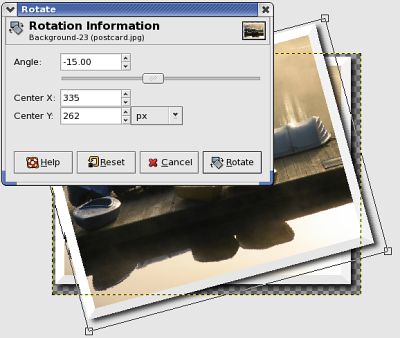 You'll have a small problem. The layer no longer fits on the canvas. The solution is to resize the canvas to fit the layer. Right click >> Image >> Fit canvas to layers. Next you might want to add a background. To do that, open the layer dialog box and add a new layer. Drag it to the bottom of the layer levels and then use the bucket pattern fill tool to fill the background layer with a pattern. 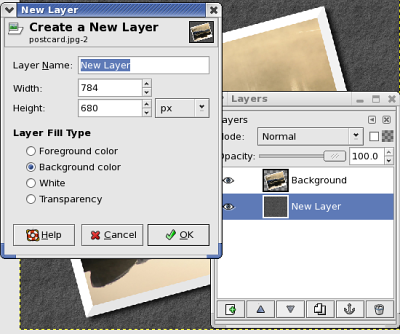 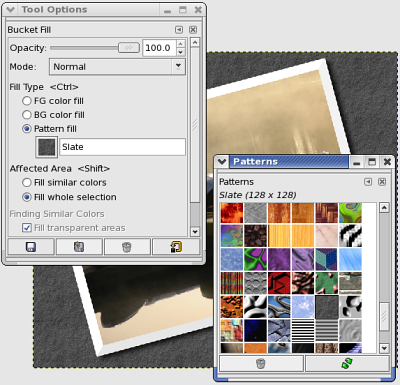 The result should be a nice looking postcard. ;-) 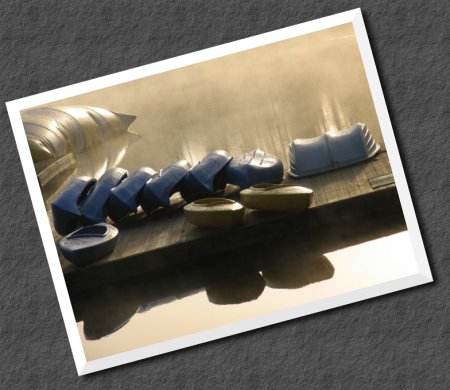 |
Last modified: Thursday, 24 July 2014, 2:54 PM